


The quest for a brighter, more confident smile is a universal desire. In a world where first impressions count, the color of our teeth can significantly impact our self-esteem and how we are perceived. But navigating the vast and often confusing landscape of teeth whitening can be overwhelming. From professional in-office treatments to over-the-counter strips and a plethora of online remedies, how do you know which option is effective, safe, and right for you? The journey to a whiter smile isn’t one-size-fits-all; it’s a balance of chemistry, biology, and personal circumstance. This comprehensive guide cuts through the marketing hype to deliver the science-backed facts about modern teeth whitening. We will explore how whitening agents actually work, compare the power of professional treatments to the convenience of at-home kits, outline crucial safety guidelines to protect your enamel, and provide practical solutions for managing the sensitivity that often accompanies the process.
1. The Science of a Whiter Smile: How Bleaching Actually Works
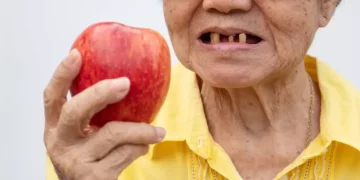
To understand whitening, you must first understand what causes staining. There are two primary types of tooth discoloration:
- Extrinsic Stains: These are surface stains located on the outer layer of the tooth (the enamel). They are caused by consuming dark-pigmented foods and beverages like coffee, tea, red wine, cola, and berries, as well as tobacco use.
- Intrinsic Stains: These stains occur within the inner structure of the tooth (the dentin). They can be caused by aging, trauma, certain medications (like tetracycline antibiotics), or excessive fluoride exposure during childhood.
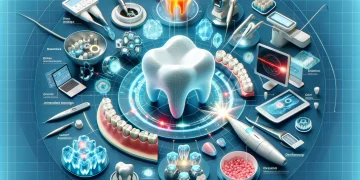
The hero of the teeth whitening story is a chemical agent, most commonly hydrogen peroxide or carbamide peroxide. Carbamide peroxide breaks down into hydrogen peroxide and urea, meaning hydrogen peroxide is the active ingredient in most whitening products.
Here’s the scientific process:
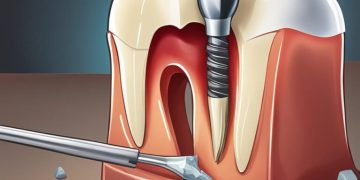
- Penetration: The hydrogen peroxide gel is applied to the tooth surface. The molecules are small enough to penetrate through the porous enamel to reach the discolored dentin layer beneath.
- Oxidation: Once inside the tooth, the hydrogen peroxide undergoes a chemical reaction called oxidation. It breaks down into unstable molecules called free radicals.
- Stain Breakdown: These highly reactive free radicals attack the long-chain, dark-colored organic molecules that cause staining. They break these large molecules into smaller, lighter-colored, and less complex fragments.
- Reflection of Light: By breaking apart the stain molecules, the overall tooth structure reflects more light and absorbs less. This change in light reflection is what our eyes perceive as a whiter, brighter tooth.
It’s crucial to understand that this process bleaches the tooth structure itself, it does not simply scrub away surface stains like a toothpaste might. This is also why whitening is not permanent; new stains will gradually accumulate over time, requiring maintenance.
2. The Professional Powerhouse: In-Office Whitening Methods
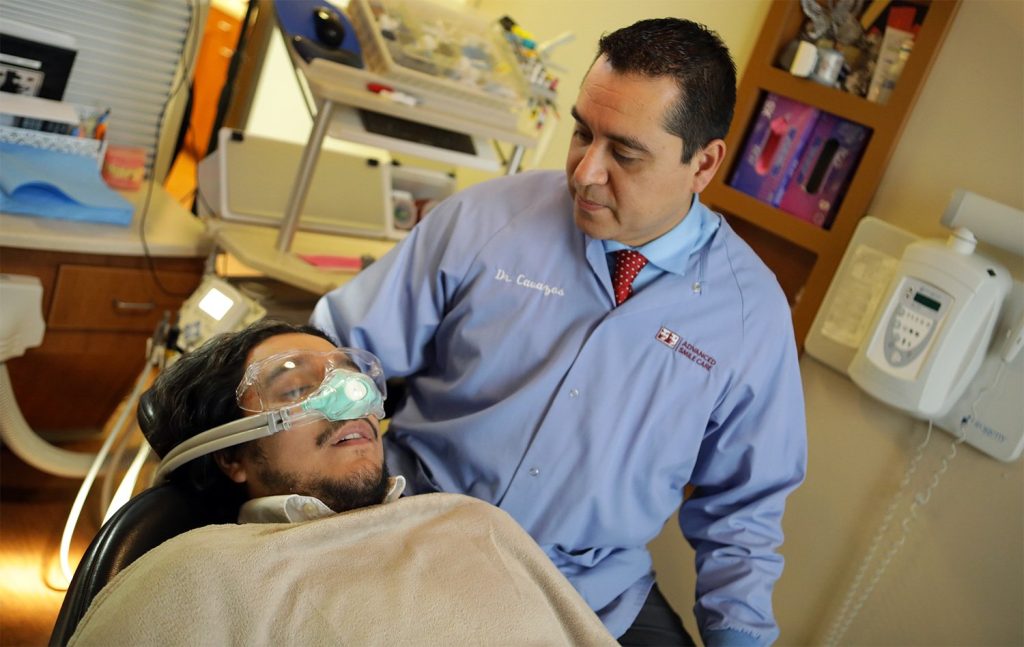
For those seeking the fastest, most dramatic results, in-office professional whitening is the gold standard. Performed under the supervision of a dentist, this method offers power, speed, and safety.
The Process:
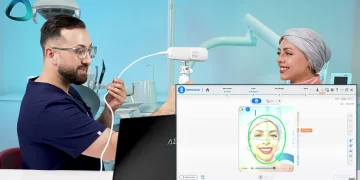
A typical in-office whitening session, such as the popular Philips Zoom! or KöR systems, follows a structured protocol:
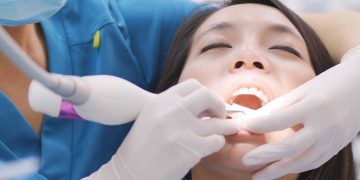
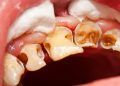
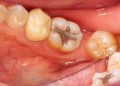
- Pre-Whitening Examination: The dentist first conducts a thorough oral exam to ensure your teeth and gums are healthy. They will check for cavities, gum disease, and existing restorations (like crowns and fillings, which will not whiten), and discuss your expectations.
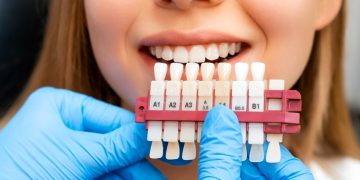
- Cleaning and Shade Assessment: Your teeth are professionally cleaned to remove surface plaque and debris. The dentist then uses a shade guide to record your baseline tooth color.
- Isolation and Protection: This is a critical safety step. Your lips, cheeks, and gums are retracted, and a protective barrier or liquid dam is applied to shield the soft tissues from the high-concentration bleaching gel.
- Application and Activation: A high-potency hydrogen peroxide gel (ranging from 25% to 40%) is carefully applied to the teeth. Many systems use a special curing light or laser to accelerate the chemical reaction. While the light itself doesn’t “whiten,” it can help activate the gel’s catalysts, leading to faster and more effective breakdown of the peroxide.
- Multiple Cycles: The gel is typically left on for 15-20 minutes, then removed, and a fresh layer is applied. This process is repeated 2-3 times over a 60-90 minute appointment.
Pros and Cons:
- Pros:
- Speed: Achieves significant lightening in a single visit.
- Supervision: A dental professional ensures safety and manages sensitivity.
- Potency: Uses the strongest, most effective bleaching agents available.
- Cons:
- Cost: The most expensive option, often costing $500-$1,000 or more.
- Sensitivity: The high concentration of peroxide frequently causes temporary but significant tooth sensitivity.
3. The Convenience of Home: A Deep Dive into At-Home Kits
At-home whitening offers a more gradual and affordable path to a brighter smile, but it requires more patience and consistency.
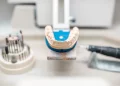
Dentist-Dispensed Take-Home Trays:
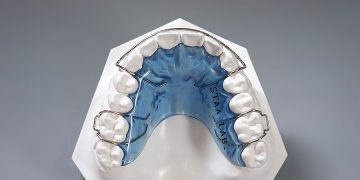
This is the middle ground between in-office and over-the-counter kits. Your dentist takes impressions of your teeth to create custom-fitted plastic trays.
- How it Works: You are given a professional-grade bleaching gel (usually 10-20% carbamide peroxide) to use with the trays. You wear them for a specified period, typically 30 minutes to a few hours per day, or overnight, for one to three weeks.
- Advantage: The custom fit ensures even gel distribution, minimizes waste, and reduces the gel’s contact with your gums, making it safer and more effective than store-bought alternatives.
Over-the-Counter (OTC) Products:
These are widely available and vary greatly in effectiveness and safety.
- Whitening Strips (e.g., Crest 3D White): Thin, flexible plastic strips coated with a low-concentration hydrogen peroxide gel. They are applied directly to the teeth for 30 minutes twice a day for 1-2 weeks. They are affordable and convenient but can be difficult to apply evenly, potentially leading to streaking, and may not whiten the contours between teeth effectively.
- Whitening Toothpastes: These primarily work by using mild abrasives (like hydrated silica) to polish away surface stains. Some contain low concentrations of chemical whiteners like hydrogen peroxide. They are maintenance products, excellent for preventing new stains and maintaining whiteness, but they cannot produce a significant change in the underlying tooth color.
- OTC Trays and Gels: These one-size-fits-all kits include a “boil-and-bite” tray and a bleaching gel. They are often messy, can fit poorly leading to gum irritation, and use very low-concentration gels, resulting in unpredictable and often disappointing results.
4. Protecting Your Smile: Essential Safety Guidelines
The pursuit of a whiter smile should never come at the cost of your dental health. Adhering to these safety guidelines is paramount.
Consult Your Dentist First: This is the most important rule. A dental exam can identify issues that could be worsened by whitening, such as:
- Cavities: Bleaching gel can penetrate decay and cause severe pain and damage to the tooth pulp.
- Gum Disease: Inflamed gums are more susceptible to irritation from bleaching agents.
- Exposed Dentin or Root Surfaces: These areas are much more porous and sensitive than enamel and will whiten rapidly and painfully.
- Existing Dental Work: Crowns, veneers, and composite fillings will not change color. Whitening your natural teeth can create a mismatched, unnatural look.
Follow Instructions Meticulously: Never leave a whitening product on for longer than directed. “More” is not better and significantly increases the risk of chemical burns to the gums and irreversible tooth damage, including enamel erosion and pulp damage.
Beware of Unregulated Products: Avoid purchasing high-concentration whitening gels from unverified online marketplaces or social media. These products may have incorrect pH levels, making them highly acidic and capable of permanently dissolving your tooth enamel.
Understand the Limits: Not all teeth whiten equally. Yellowish teeth typically respond best to bleaching, while brownish or grayish tones may be more stubborn. Tetracycline-stained teeth or discoloration from fluorosis may require extended professional treatment or alternative cosmetic solutions like veneers.
5. Conquering the Zing: Effective Sensitivity Solutions
Tooth sensitivity is the most common side effect of whitening. It occurs when the peroxide temporarily opens up the microscopic tubules in the dentin, allowing stimuli like cold air or water to reach the nerve more easily. This sensation is almost always temporary.
Pre-Treatment and Management Strategies:
- Use Desensitizing Toothpaste: For 1-2 weeks before you begin whitening, start brushing with a toothpaste containing potassium nitrate (e.g., Sensodyne or Colgate Sensitive). These toothpastes work by calming the nerve inside the tooth.
- Shorter Duration, More Frequently: Instead of one long session, try shorter applications more frequently. This can give your teeth time to recover between treatments.
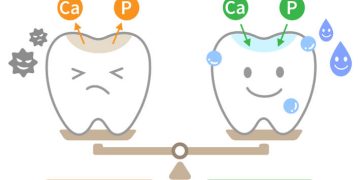
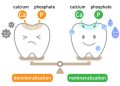
- Take a Break: If sensitivity occurs, pause your whitening regimen for a day or two to allow the teeth to remineralize and the nerve to settle.
In-Whitening and Post-Whitening Care:
- Professional Desensitizers: Many in-office systems include a final application of a fluoride or desensitizing gel to immediately reduce sensitivity.
- Avoid Temperature Extremes: Immediately after whitening, avoid very hot or very cold foods and beverages.
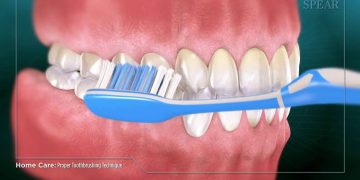
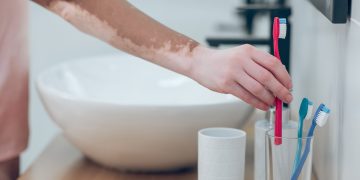
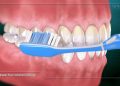
- Use a Soft-Bristled Toothbrush: This minimizes additional abrasion to temporarily more porous enamel.
- Stay Hydrated with Water: A dry mouth can exacerbate sensitivity.
The path to a whiter smile is a journey of informed choices. By understanding the science behind the bleach, weighing the pros and cons of professional versus at-home methods, prioritizing safety above all else, and having a plan to manage sensitivity, you can achieve brilliant results without compromising your oral health. A brighter smile is not just about vanity; it’s an investment in your confidence. By approaching it with knowledge and care, you can ensure that investment pays off for years to come.


Discussion about this post